ライブラリソース内デバッグとかを行う際、Resource is out of sync with the file systemのエラーがEclipseから出てしまい、その対処方法です。
[Windows]->[Preferences]で設定ダイアログを表示します。

この画面通り、チェックを付与すればOKですね。
※Eclipse 3.5系が中心で作業しているので、以降は違う箇所とかに変更されているかもしれません。(^^;
 これは例ですが、特別なことはしていません。
 ライブラリ登録したプロジェクトが選択できるようになります。
 設定完了した[Android]タブ
 すると、Workspaceにある自分を除く全てのプロジェクトが選択できますが、JNIライブラリを選択します。この例では2つしか無いのでJNIライブラリだけ選択候補になっているように見えますが、間違えないでください。
 ここで、ライブラリ側のJavaソースがあるsrcフォルダを選択します。
 一応これで準備完了です。後は好きにライブラリを利用したプログラムを開発すれば良いです。
 ついでですが、説明しませんでしたがプロジェクトプロパティの[Java Build Path]にあるSourceタブは完了すると勝手にソースが追加されます。これを削除するとライブラリをコンパイルしませんので注意してください。
 CソースとCPPソースが混在したとしても、Application.mkはJNI直下で無ければならない点に注意。次に、JNI直下では各ディレクトリ毎にAndroid.mkを配置するようにした場合(JNI直下でも良いがその場合には全て指定)には、次の一行をAndroid.mkに記述しておく。
include $(call all-subdir-makefiles)これに気がつくまでに、時間がかなり掛かってしまったので注意してください。
 この図のように、ライブラリ専用プロジェクトにActivityが不要な場合にはチェックを外しておきます。
 リソースファイルは自動的に作成されますが、特に必要無いので削除しています。
 ここでは、JNIの呼出元となるJavaクラスとしてsamplelibクラスを生成しています。内容は以下の通りとしました。
package jp.co.anaheim_eng.teslib;この辺りで、前述リンク先の<AndroidプロジェクトのC/C++プロジェクト化>を終了しているものとします。
public class samplelib {
static {
// ライブラリロード
System.loadLibrary("testjni");
}
// JNIのネイティブメソッド
public native String GetStringJNI();
/**
* デフォルトコンストラクタ
*/
public samplelib() {
}
/**
* 単なる文字列をJNI経由で返却するファンクション
* @return
*/
public String getString() {
return GetStringJNI();
}
}

#include <jni.h>cppファイル[TestJni.cpp]
#ifndef _Included_jp_co_anaheim_eng_testlib_samplelib
#define _Included_jp_co_anaheim_eng_testlib_samplelib
/*
* DEBUG パラメタ 0: Releaseビルド, 1: Debugビルド
*/
#define DEBUG 1
#ifdef __cplusplus
extern "C" {
#endif
/*
* Class: Java_jp_co_anaheim_1eng_testlib_samplelib
* Method: GetString
* Signature: ([II)Ljava/lang/String;
*/
JNIEXPORT jstring JNICALL Java_jp_co_anaheim_1eng_teslib_samplelib_GetStringJNI
(JNIEnv *, jobject);
#ifdef __cplusplus
}
#endif
#endif
#include <string.h>[Android.mk]
#include "jp_co_anaheim_eng_testlib_samplelib.h"
#include <android/log.h>
#include <iostream>
#include <string>
#if DEBUG
# define DebugLogInfo(...) ((void)__android_log_print(ANDROID_LOG_INFO, "TestJni LIB", __VA_ARGS__))
#else
# define DebugLogInfo(...) do{}while(0)
#endif
JNIEXPORT jstring JNICALL Java_jp_co_anaheim_1eng_teslib_samplelib_GetStringJNI
(JNIEnv *env, jobject thiz)
{
std::string strRtn = "Hello JNI Library";
return env->NewStringUTF(strRtn.c_str());
}
LOCAL_PATH := $(call my-dir)[Application.mk]
include $(CLEAR_VARS)
LOCAL_MODULE := testjni
LOCAL_SRC_FILES := TestJni.cpp
LOCAL_C_INCLUDES := $(JNI_H_INCLUDE)
LOCAL_LDLIBS := -llog
include $(BUILD_SHARED_LIBRARY)
APP_STL := stlport_staticこれでJNIライブラリの準備は完了となります。次からはJNIライブラリをどのように利用するかについて記述します。
#include <stdio.h>
#include <fcntl.h>
#include <jni.h>
#include <android/log.h>

#define DEBUG 1
#if DEBUG
#  define DebugLogInfo(...)  ((void)__android_log_print(ANDROID_LOG_INFO, "TestOpen", __VA_ARGS__))
#else
#  define DebugLogInfo(...)  do{}while(0)
#endif

JNIEXPORT jint JNICALL Java_jp_co_anaheim_1eng_MainActivity_testOpen (JNIEnv *env, jobject thiz)
{
 //fopen関数は最も一般的
 FILE *fp;
 fp = fopen( "/data/data/jp.co.anaheim_eng/testfile0.txt", "w+" );
 if( fp == NULL ) {
  DebugLogInfo("File cannot open error.");
  return 1;
 }
 fclose(fp);

 //open関数でパーミッションを指定しない状態で実行
 int fd;
 fd = open("/data/data/jp.co.anaheim_eng/testfile1.txt", O_CREAT | O_RDWR);
 if (fd == -1) {
  DebugLogInfo("testfile1.txt File cannot open error.");
  return 1;
 }
 close(fd);

 //ここは敢えてパーミッションを666に設定している
 fd = open("/data/data/jp.co.anaheim_eng/testfile2.txt", O_CREAT | O_RDWR, 0666);
 if (fd == -1) {
  DebugLogInfo("testfile2.txt File cannot open error.");
  return 1;
 }
 close(fd);

 return 0;
}


#include <sys/stat.h>

 //パーミッションとして660に設定した
 if (chmod("/data/data/jp.co.anaheim_eng/testfile0.txt", S_IRUSR | S_IWUSR | S_IRGRP | S_IWGRP) != 0) {
  DebugLogInfo("File cannot change chmod.");
  return 1;
 }

$ sudo lsusbこの結果からIDの隣である18d1がUSB Vendor IDになります。隣にある4e22は何だ?ってことになると思います。分かり難いですよね。詳しく見るには以下のコマンドを入力すると分かります。
Bus 002 Device 001: ID 1d6b:0001 Linux Foundation 1.1 root hub
Bus 001 Device 004: ID 18d1:4e22 Google Inc.
Bus 001 Device 001: ID 1d6b:0002 Linux Foundation 2.0 root hub
$ sudo udevadm info --query=all --name=/dev/bus/usb/001/004ID_MODELにNexus Sを記載されていますし、ID_VENDOR_IDには先の値が入っています。(x16桁は端末シリアル番号です。)
P: /devices/pci0000:00/0000:00:11.0/0000:02:03.0/usb1/1-1
N: bus/usb/001/004
S: char/189:3
E: UDEV_LOG=3
E: DEVPATH=/devices/pci0000:00/0000:00:11.0/0000:02:03.0/usb1/1-1
E: SUBSYSTEM=usb
E: DEVNAME=bus/usb/001/004
E: ID_VENDOR=Samsung
E: ID_VENDOR_ENC=Samsung
E: ID_VENDOR_ID=18d1
E: ID_MODEL=Nexus_S
E: ID_MODEL_ENC=Nexus\x20S
E: ID_MODEL_ID=4e22
E: ID_REVISION=0227
E: ID_SERIAL=Samsung_Nexus_S_xxxxxxxxxxxxxxxx
E: ID_SERIAL_SHORT=xxxxxxxxxxxxxxxx
E: ID_BUS=usb
E: ID_USB_INTERFACES=:080650:ff4201:
E: ID_MEDIA_PLAYER=google_nexus-s
E: MAJOR=189
E: MINOR=3
E: DEVTYPE=usb_device
E: DRIVER=usb
E: PRODUCT=18d1/4e22/227
E: TYPE=0/0/0
E: BUSNUM=001
E: DEVNUM=004
E: DEVLINKS=/dev/char/189:3
$ sudo vi /etc/udev/rules.d/51-android.rules上記の"18d1"がID_VENDOR_IDになります。Android機器が異なる場合にはベンダ毎に変わります。Nexusシリーズの場合、Googleが製造していないのでNexus Sの場合にはサムソンになるのですが、サムソンは"04e8"なので別IDを利用していることになります。
SUBSYSTEM=="usb", ATTRS{idVendor}=="18d1", OWNER="ユーザ名", GROUP="ユーザ名"
$ sudo restart udevこれで設定自体は完了しています。
$ adb kill-serverこれで完了です。
$ adb start-server
$ adb devices
List of devices attached
emulator-5554 device
端末シリアル番号 device
$ sudo vi /etc/udev/rules.d/51-android.rulesEclipse上のDDMSから画面キャプチャも問題なく出来るのですが、速度が遅いので
SUBSYSTEM=="usb", ATTRS{idVendor}=="22b8", OWNER="ユーザ名", GROUP="ユーザ名"
$ adb shell screencap -p /mnt/sdcard/capture.jpgで行う方がかなり速く取得できました。コマンド操作が面倒な方は通常通りで良いですが。(笑)
$ adb pull /mnt/sdcard/capture.jpg

LOCAL_PATH:= $(call my-dir)
include $(CLEAR_VARS)
LOCAL_MODULE := 「JNIライブラリ名」
LOCAL_SRC_FILES := $(call all-java-files-under, src)
LOCAL_C_INCLUDES := $(JNI_H_INCLUDE)
include $(BUILD_SHARED_LIBRARY)
APP_STL := stlport_static
#APP_STL := gnustl_static


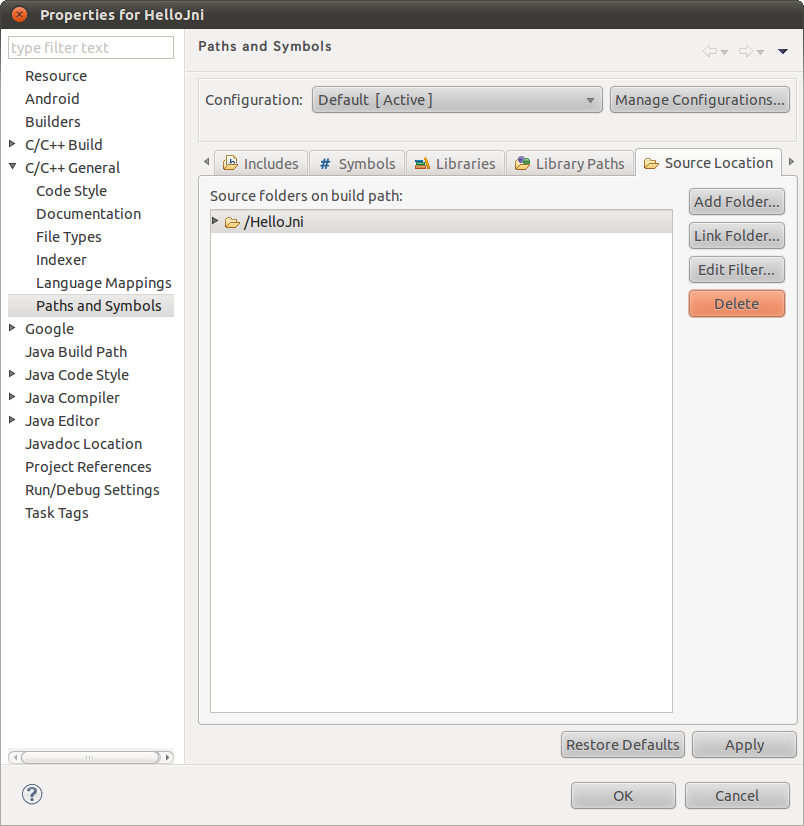
 全てが空になったら、上記の[Add...]ボタンを押下します。ここで[File system...]ボタンを押下してディレクトリを選択します。